How to Measure an L-Shaped Kitchen for New Cabinets
An L-shaped room is not two cabinet-footage totals. Corners, fillers, appliances and upper cabinets turn wall lengths into a specific cabinet schedule.
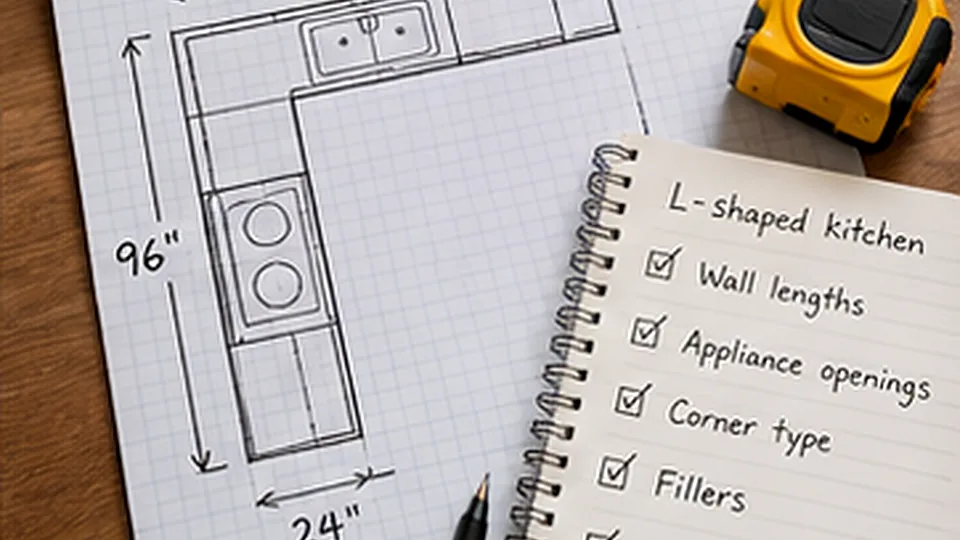
What matters most
- Measure the room at more than one height and locate each obstruction.
- Treat the inside corner as a cabinet-planning decision.
- Count every unit, filler, panel and appliance opening separately.
Start with walls, not a catalog cart
Draw the two connected walls from a bird's-eye view. Record each finished wall length in inches at base-cabinet height and again where wall cabinets will hang. Check diagonal squareness, ceiling height, wall bows and floor slope. Photograph each wall with the tape visible, then measure from permanent reference points rather than a cabinet door.
Mark windows, door casing, heating and ventilation elements, outlets, plumbing, gas connections, existing electrical boxes and clearance zones. Do not assume a drawing based on one tape measurement is accurate enough to order cabinets.
- Wall A and wall B measured independently.
- Floor-to-window and countertop-to-upper distances.
- Ceiling soffits, vents, switches and utility locations.
A 17-cabinet reference plan, not a universal recipe
Use a working example with 17 labeled cabinet units across the two runs: seven base units, eight wall units and two tall units. These counts are an illustrative scheduling framework; the final number and widths must be reconciled to actual measured wall lengths and the chosen cabinet line. Label B1 through B7, W1 through W8 and T1 through T2 on your drawing.
Add an independent entry for the corner configuration, the refrigerator opening, the range opening and the dishwasher bay. Depending on the plan, those areas may replace or interrupt a nominal cabinet space. Verify whether any corner unit is included in the example count before sending the final schedule for pricing.
| Group | Illustrative count | What to verify |
|---|---|---|
| Base cabinets | B1–B7 (7 units) | Sink base, drawers, corner, dishwasher gap |
| Wall cabinets | W1–W8 (8 units) | Hood opening, windows, fridge upper |
| Tall cabinets | T1–T2 (2 units) | Pantry depth, ceiling and door swings |
| Non-cabinet elements | Not included in the 17 | Fillers, finished ends, trims and appliance bays |

Understand the corner before measuring cabinet footage
An inside corner is occupied by a blind-base or other corner solution, not simply two independent box widths meeting at a right angle. Document which wall the unit opens toward, how much neighboring clearance it needs, and whether doors or drawers will collide.
For wall cabinets, note the corner transition separately from base cabinets. The upper run may have different start and end points because of a window, hood or refrigerator. This is why a simple sum of wall lengths is not the same as the lineal footage that appears on a vendor quote.
- Show the cabinet footprint and door swing at the corner.
- Record required fillers next to walls and appliances.
- Confirm the corner decision before locking neighboring widths.
L-shaped cabinet measurement sheet
Get a print-ready planning worksheet by email. We use your name and email to fulfill your request, not to sign you up for marketing.
Openings need model-specific dimensions
Write down the actual refrigerator, range, oven and dishwasher model numbers and fetch their installation documents. Check height, width, depth, service access, door swing and manufacturer ventilation requirements. The opening is not necessarily the same size as the appliance body.
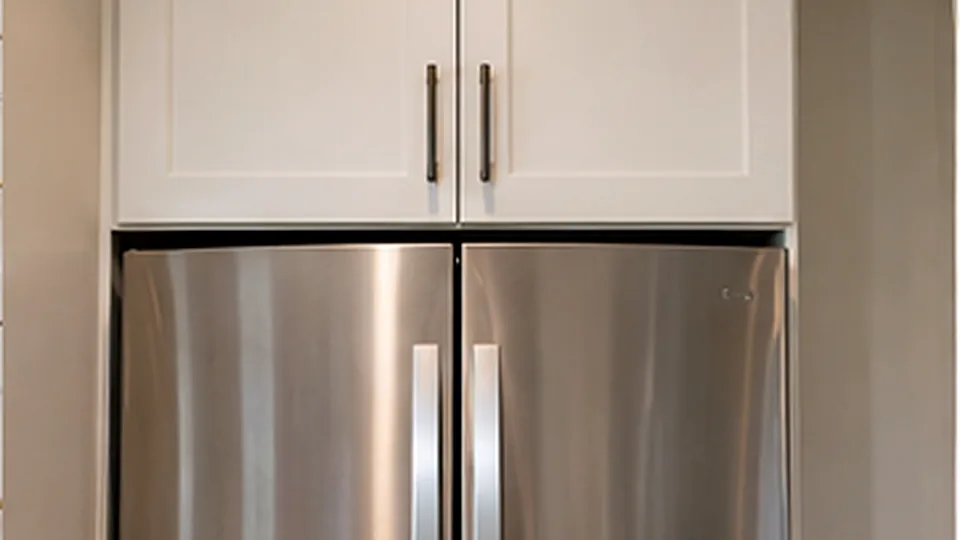
Measure the range opening from finished faces and decide how countertops end at either side. At the refrigerator, document the cabinet above and any finished side panels. A designer should be able to show both plan and elevation views for every tall appliance.
- Model number and required opening dimensions.
- Power, water, gas and drain locations.
- Side panels, countertop overhang and door clearance.
Fillers and finished surfaces belong in the takeoff
Set aside a dimension line for each wall scribe, side panel, toe-kick, crown molding, light rail and trim return. A seemingly small filler may be essential to let a drawer open next to a wall. Those pieces can affect material ordering, finish matching and labor.
Check whether end panels are exposed beside the refrigerator, dishwasher, seating or doorway. Mark both visible and concealed sides before requesting pricing. A vendor may include them in a package, charge separately or omit them.
- Every filler labeled with location and purpose.
- Exposed ends and panel finish noted.
- Toe-kick and crown line lengths documented.
Hand off a usable drawing, then verify before ordering
The deliverable is a dimensioned plan plus a cabinet schedule, not just a photograph. Ask the supplier or installer to field-verify measurements, reconcile cabinet widths to wall lengths, and sign off the appliance clearances. Read the cabinet-choice guide to compare one plan across stock, semi-custom and custom options.
Do not order from the illustrative 17-unit count alone. The plan is meant to reveal decisions and omissions before fabrication or delivery. Enter final measured cabinet quantities into the Remodel Atlas calculator as a national planning input, then confirm the actual price through written quotes.
- Reconciled measurement totals.
- Signed cabinet schedule and elevations.
- Field-verified appliance openings.
Sources and scope notes
We distinguish published references from worked scenarios, which are not verified contractor bids. Review product instructions and local requirements for your own project.
- Whirlpool: Refrigerator Size and Measurement GuideMeasure appliance openings and account for clearance
- FTC: Avoid Home Improvement ScamsWritten estimates and contractor selection